 http://orcid.org/0000-0002-3224-8858
by Paul Murrell
http://orcid.org/0000-0002-3224-8858
Sunday 11 December 2016

This document
is licensed under a Creative
Commons Attribution 4.0 International License.
This document describes a proof-of-concept for producing R demonstration videos in a fully-automated manner. The "script" for the video consists of a text file containing code chunks paired with text commentary. The video is produced by running the code while recording a screen capture, using text-to-speech software to record audio of the commentary, then combining video and audio with appropriate timings and pauses.
As part of some paranoid preparations for a conference presentation at NZSA 2016, I wanted to create some short videos of R code demonstrations. The presentation slides included samples of R code and I was planning to run the R code samples live as part of the presentation. As a backup, in case the R code did not work on the day, I wanted to produce videos of the R code working.
I have dabbled with creating short videos before and drew two main conclusions from the experience: my decision not to pursue a career in hollywood was a sound one; and generating videos is an expensive process in terms of human time.
The cost of generating a video is of course compounded by the fact that, inevitably, any single video must be generated multiple times. For example, any mistake in typing R code, or in narrating the commentary requires a new recording. Furthermore, any changes to the R code or to the commentary at a later date force additional recordings.
This situation closely mirrors the creation of figures and R output in written reports, where manual cutting-and-pasting of images and R output used to waste a lot of time. That problem has been solved through the adoption of literate documents and tools like Sweave and knitr that include R code within the document itself, with automated processing taking care of embedding images and inserting R output in the final report.
This document describes an attempt to bring that same level of automation to the generation of videos that demonstrate R code samples.
The task of creating a video of running R code combined with audio commentary was broken into the following sub-tasks:
Each of these sub-tasks is addressed in a separate section below. This is only a proof of concept, which means, due to the nature of my work environment, the solutions are mostly based on Ubuntu Linux commands.
The first step is to create a description of the video, consisting
of R code chunks and text commentary.
The examples in this document are based on a simple XML document
structure for the video description. An example of a simple video
description file, demo.xml, is shown below.
  <script>
    <scene>
      <shot>
        <action>
  x = -10:10
  for (i in 2:6*10) {
      persp(x, x, outer(x, x, function(x, y) y*x^2),
            col=rgb(0,0,1,.5), theta=i)
      dev.flush()
      Sys.sleep(1)
  }
        </action>
        <dialogue>
  We plot five different views of a three-dimensional plot, with a
  1 second pause in between each view.
        </dialogue>
      </shot>
    </scene>
  </script>
R code is contained with an <action> element and text commentary is within a <dialogue> element; a <shot> indicates a pairing of code and commentary that should start at the same time; a <scene> may contain one or more <shot>s and the complete <script> consists of the scenes run one after another.
XML is used as the description format because it is so easy and reliable
to extract components from XML. For example, the following code
extracts all of the
dialogue content from demo.xml.
library(xml2)
xml <- read_xml("demo.xml")
commentary <- xml_text(xml_find_all(xml, "//dialogue"))
commentary
[1] "\nWe plot five different views of a three-dimensional plot, with a \n1 second pause in between each view.\n "
It is also very easy and reliable to transform from one XML document to another. The slides for my presentation were XML (HTML), which meant that it was easy to extract R code examples, plus (hidden) text commentary, to produce an XML video description with the structure above.
Having extracted text commentary from the video description,
the screen reader espeak can be used
to automate the recording of the text commentary (to a WAV file).
system(paste0("espeak -w demo.wav '", commentary, "'"))
For timing purposes, we need to determine the duration of each audio segment. This can be achieved with the 'tuneR' package in R, by dividing the number of samples by the sampling rate.
library(tuneR)
demo <- readWave("demo.wav")
length(demo@left)/demo@samp.rate
[1] 5.594603
Also for timing purpose, the recording may need padding with silence at the end; this can also be achieved with 'tuneR'. The following code generates 3 seconds of silence, makes the recording ready for appending (by finding a spot where the recording is zero), and appends the silence to the end of the recording.
silence <- Wave(rep(0, 3*demo@samp.rate),
            samp.rate=demo@samp.rate, bit=demo@bit)
demoPrep <- prepComb(demo, where="end")
demoWithSilence <- bind(demoPrep, silence)
writeWave(demoWithSilence, "demo-padded.wav")
Recording a video of R code running on screen requires a combination of several tools. The first step is to arrange the screen. For the purposes of my presentation, this meant clearing the desktop and arranging a terminal window to run R within.
A tiny package called 'wmctrl' has been created to provide
an R interface to the wmctrl command, which
allows us to perform this sort of task.
For example, the following code clears the desktop
(minimizes all windows).
library(wmctrl)
showDesktop()
![]()
The openWindow function from 'wmctrl' can be used to
run a program that opens a window. For example, the following code
opens a terminal.
terminalID <- openWindow("gnome-terminal")
The return value from openWindow is a unique identifier
for the window and we can use this to locate and size the window.
The following code first ensures that the window is not maximized
in either direction and then sets the position and size of the
terminal window.
removeWindowState(terminalID, "maximized_horz")
removeWindowState(terminalID, "maximized_vert")
positionWindow(terminalID, 50, 50, 600, 500)
We can clean up the desktop once we are finished by calling
closeWindow.
closeWindow(terminalID)
The next step is to run R in a terminal window. This is
straightforward by passing further arguments to
openWindow.
terminalID <- openWindow("gnome-terminal", "-x R")
removeWindowState(terminalID, "maximized_horz")
removeWindowState(terminalID, "maximized_vert")
positionWindow(terminalID, 50, 50, 600, 500)
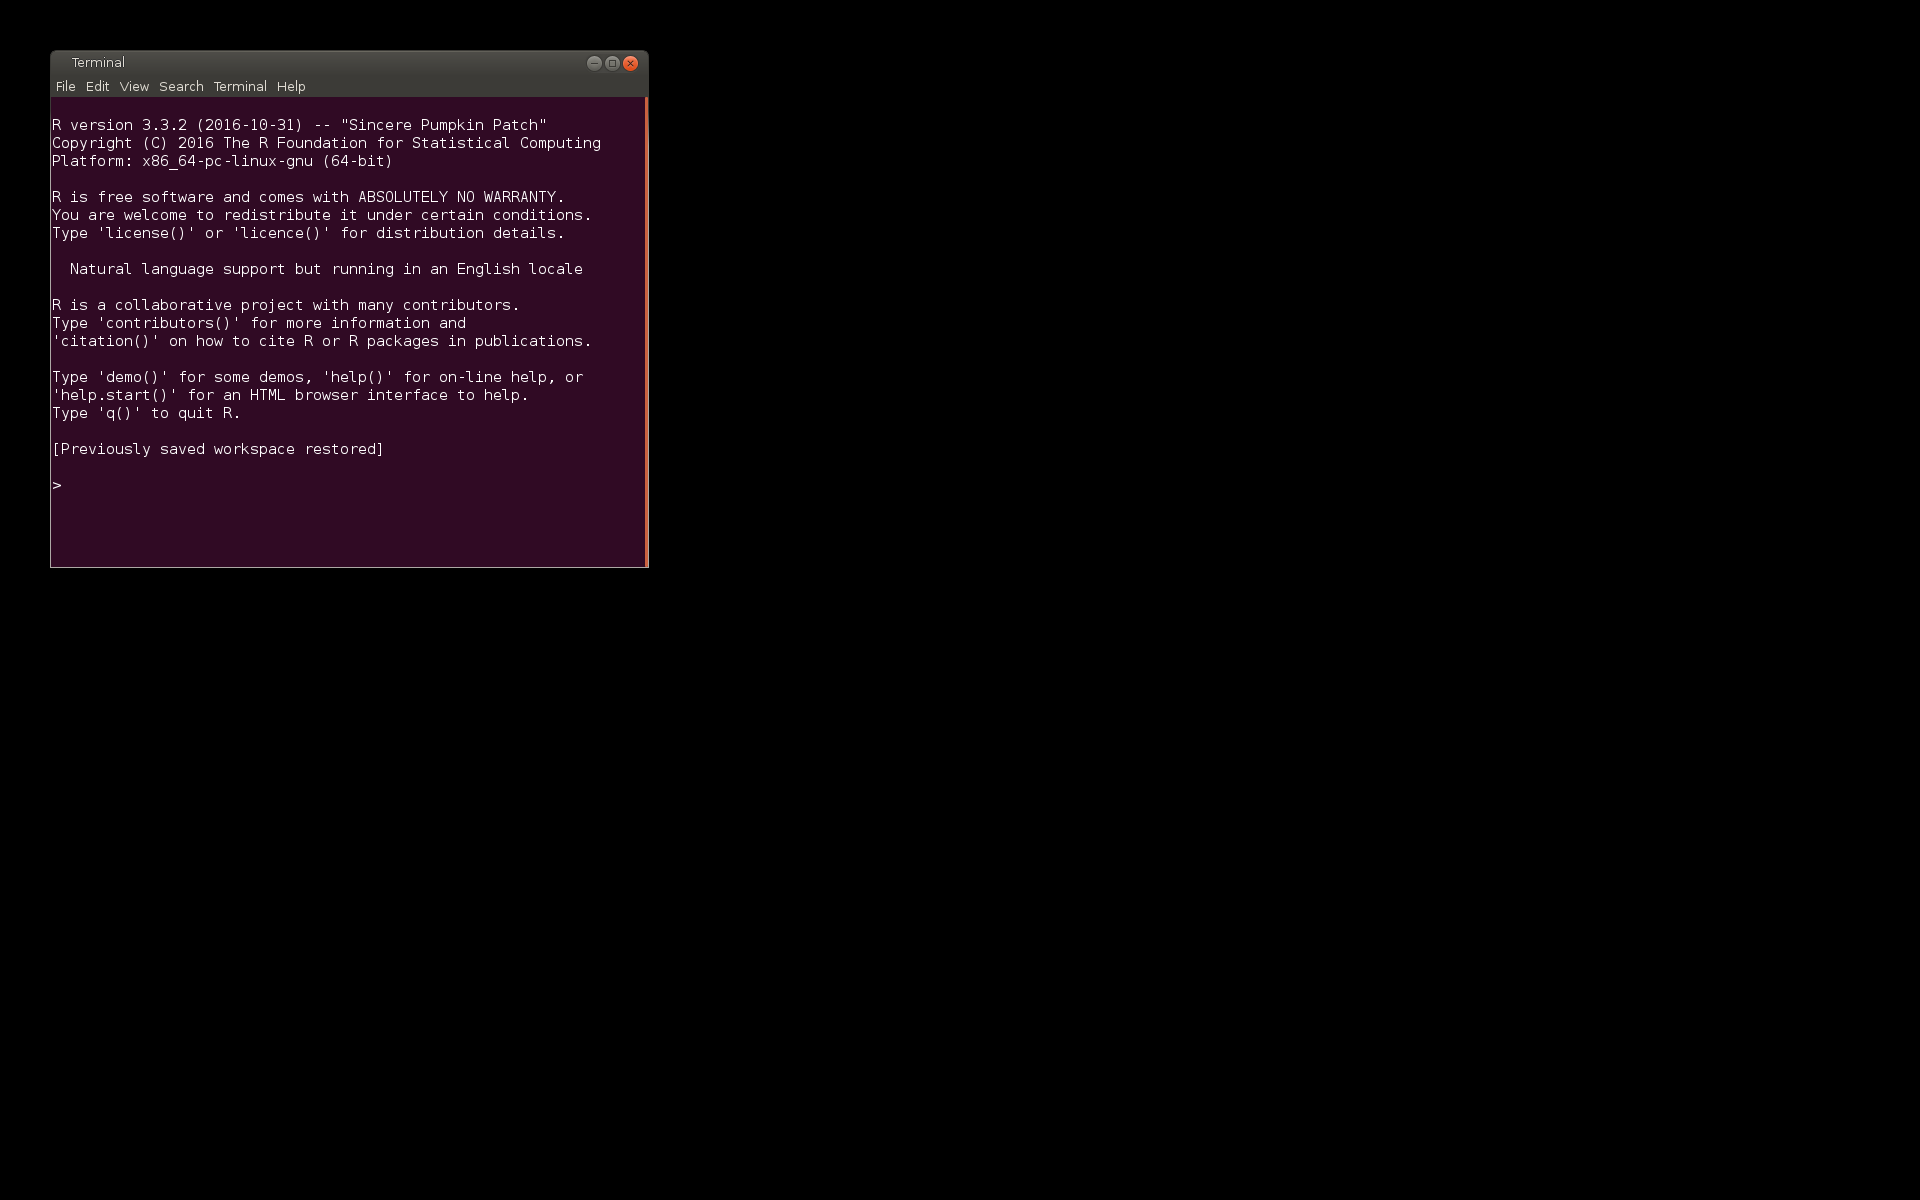
However, in addition to running R, we want to feed R code to the R session.
For this task,
another tiny package called 'xdotool' has been created as a
simple wrapper around the xdotool command.
In the following code, the first step
is to ensure that the terminal with R running has focus.
The typestring function then simulates key strokes,
which are consumed by the R commmand line.
focusWindow(terminalID)
library(xdotool)
typestring("plot(mpg ~ disp, mtcars, pch=16, col=rgb(0,0,1,.5), cex=2)\n")
An additional detail about this example is that the result of feeding that code to R is an R Graphics window. Futher functions from 'wmctrl' allow us to get information about that window and control its position as well.
RGID <- getWindowID("R Graphics")
locateWindow(RGID, 700, 50)
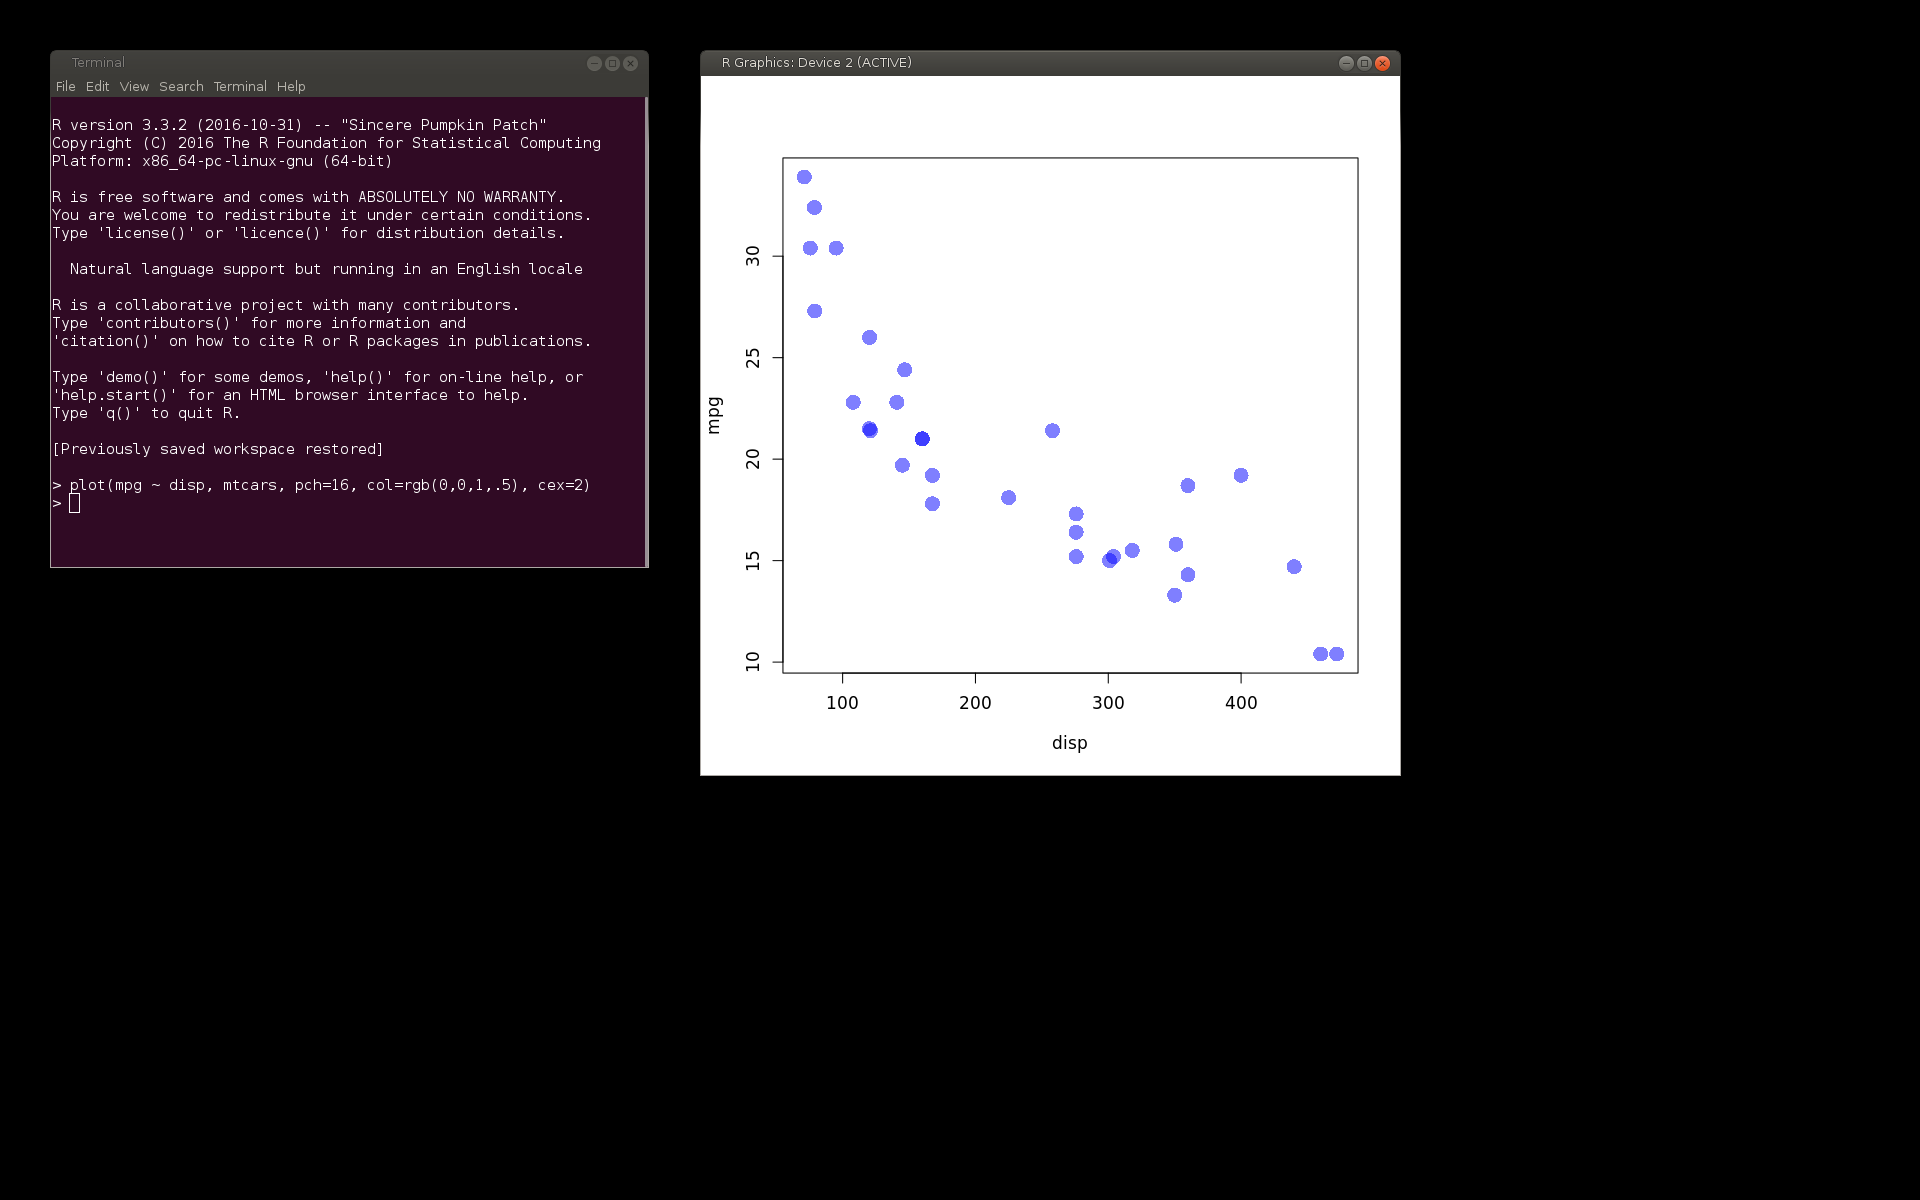
The 'xdotool' package also provides functions for moving the mouse and simulating mouse clicks.
The next step is to capture an R session as a video.
A tiny package called 'ffmpeg' has been created as a simple
wrapper around the ffmpeg command, which can help with
recording and transforming videos.
The code below records 5 seconds of screen activity
and saves it to the file video-feedR.webm
in WebM format (with VP8 video codec).
These are patent-unencumbered video codecs and container formats
that should have support on most modern browsers.
For this video, we feed the code from demo.xml.
code <- xml_text(xml_find_all(xml, "//action"))
cat(code)
  x = -10:10
  for (i in 2:6*10) {
      persp(x, x, outer(x, x, function(x, y) y*x^2),
            col=rgb(0,0,1,.5), theta=i)
      dev.flush()
      Sys.sleep(1)
  }
The screenInput function is used to tell ffmpeg
to capture the screen as input for the video.
The fileOutput function is used to describe the name and
format for the output file that ffmpeg should generate.
The argument wait=FALSE means that the R session
will not block while the video is recording, so that the
subsequent focusWindow and typestring
calls will be executed during the video recording.
library(ffmpeg)
ffmpeg(screenInput(w=1500, h=800, duration=5),
   fileOutput("video-feedR.webm", vcodec="VP8"),
   overwrite=TRUE, wait=FALSE)
focusWindow(terminalID)
typestring(code)
The feeding of code to the R session can be made more complex.
For example, code can be drip-fed one character at a time
to simulate a person typing the code. We can also
type spaces as fast as possible (it is tedious to watch
indenting being typed one character at a time).
The following code lightly processes the code chunk from
demo.xml to break it into blocks of whitespace and
non-whitespace, and makes
use of the delay argument to typestring
to slow down the typing (of non-space characters).
It also creates a video of the resulting activity on screen.
codeBits <- strsplit(code, "(?<=\\S)(?=\\s)|(?<=\\s)(?=\\S)", perl=TRUE)[[1]]
delays <- c(10, 100)
ffmpeg(screenInput(w=700, h=600, duration=7),
   fileOutput("video-dripFeedR.webm", vcodec="VP8"),
   overwrite=TRUE, wait=FALSE)
focusWindow(terminalID)
typestring(codeBits, delays)
The final step is to combine the audio and video streams.
Simply "muxing" an audio file with a video file is straightforward
with the ffmpeg function from the 'ffmpeg' package.
In the following code, there are two input files, one audio
stream and one video stream, which are combined into a single video
file. The WAV audio input is re-encoded using the Vorbis audio codec
anad the VP8 video input is included without re-encoding.
ffmpeg(list(fileInput("demo.wav"), fileInput("video-dripFeedR.webm")),
   fileOutput("video-with-audio.webm", vcodec="copy", acodec="Vorbis"),
   overwrite=TRUE)
Several shots can be combined one after the other
using concatInput
with ffmpeg. The following code just concatenates
the video-with-audio.webm movie with itself.
ffmpeg(concatInput(rep("video-with-audio.webm", 2)),
   fileOutput("video-with-audio-twice.webm", vcode="copy", acodec="copy"),
   overwrite=TRUE)
The only difficulty with combining multiple <slot>s
arises with aligning the audio and
video segments. In the simple case above, the audio is slightly
longer than the video, but ffmpeg automatically pads the video
to match. Things get more complicated when we have multiple
shots of text commentary and code chunks because we want there
to be pauses in either the audio or the video so that the
two streams are aligned at the start of each shot.
The basic algorithm for aligning shots is as follows:
    for each shot {
        audioLength = audio duration
        codeLength = (numChars - numSpaces)*delayBetweenChars
        if (audioLength > codeLength) {
            pause after typing code
        } else {
            add silence to end of audio
        }
    }
A tiny package called 'director' has been created to provide
a convenient wrapper around the steps described above.
This package supports a slightly more complex XML format for the
script description. An example is provided in the file
demo-2.xml.
The 'director' package provides a single main function,
shootVideo, that produces a movie from
the XML script. The return value of the function is
a list containing paths to the video files that are produced;
the complete movie, plus individual scenes.
library(director)
shootVideo("demo-2.xml", clean=TRUE)
  $feature
  [1] "demo-2-video/demo-2-movie.webm"

  $scenes
                                      setup
      "demo-2-video/scene-setup-movie.webm"
                                       plot
       "demo-2-video/scene-plot-movie.webm"
                                  rearrange
  "demo-2-video/scene-rearrange-movie.webm"
                                     append
     "demo-2-video/scene-append-movie.webm"
The XML script file has the following structure:
x, y,
width and
height attributes that describe the area of the screen
that will be captured on video.
The <stage> contains
one or more <location> elements.
id,
program,
x,
y,
width, and
height.
These are used to open a window
at the specified location, using the named program.
The id attribute defaults to a numeric index.
The dimensions of the <stage> default to
the bounding box of the <location> elements.
An example of a <location> element is shown below.
<location id="term" program="gnome-terminal" x="50" y="50" width="600" height="500"/>
id attribute
that defaults to a numeric index.
A separate video is produced for each scene and the scenes
are strung together to produce the complete movie.
A <scene> element
contains one or more <shot> elements.
location and
duration attributes. The location
should match the id of one of the
<location> elements within the <stage> element;
this is used to give focus to
the correct window for typing code. The duration
gives the shot duration in seconds; if specified, this
overrides the duration of the audio and code within the shot.
A <shot> element contains zero or one <action>
elements and zero or one <dialogue> elements.
It is possible for a <shot> to be empty and just
have a duration attribute (as shown below); this
produces a pause in the video.
<shot duration="1"/>
location
attribute of the parent <shot> element.
Because code is just typed in a window, the code does not have
to be R code. The example below is used to type R
in a terminal to start R.
  <shot location="term">
    <action>
  R
        </action>
    <dialogue>
  The first step is to start R
        </dialogue>
  </shot>
echo attribute and
if this is set to "FALSE", the code is
not sent to the window with focus. The code is run,
but only within the R session that is coordinating the
video recording. In the example, demo-2.xml,
this is used to reposition
an R graphics window (as shown below).
  <action echo="FALSE"><![CDATA[
  library(wmctrl)
  # Wait for R graphics window
  Sys.sleep(1)
  RGID <- getWindowID("R Graphics")
  locateWindow(RGID, 400, 10)
        ]]></action>
keydelay and
linedelay attributes. These control the
delay between typing (non-space) characters and the delay
after each newline in a chunk of code (both in milliseconds).
The former can be used to speed up the typing of code
and the latter can be useful to pause after an expression
that may take a moment to execute (as shown below).
  <action linedelay="1000"><![CDATA[
  library(DOM)
  page <- htmlPage()
        ]]></action>
The original motivation for this work was to automate the generation of a video of code examples for a conference presentation.
It turned out to be a good idea to produce the video because the live demonstration of the code examples did not work during the conference presentation, and I was able to fall back on the video. However, the true value of this work to automate the creation of the video was reflected in the fact that I generated the video several times. Because the video generation was automated, it was very quick and easy to make changes to the code in the examples, to the text commentary, or to the timing, or even the order of the scenes and shots in the video.
In summary, this work has already proven its value for my own purposes.
The only other time that I have attempted to produce short videos of R code demonstrations was to support teaching. I have done this only sparingly in the past because of the time and effort cost involved in generating videos, but even more because of the cost of updating and maintaining them. I am hopeful that this automated approach to generating videos will encourage me to make more videos to support my teaching.
Another benefit of automating video generation from a simple script is that it becomes easy to share and reuse videos. It also becomes easy to place a video script under version control (e.g., host the video script on github). The ability to easily (and programmatically) modify and regenerate a video may facilitate the production of multiple versions of a video, e.g., translations of text commentary to other languages. It could also be expanded to automatic generation of "scene selection" menus, etc.
The major limitation of this proof-of-conecept solution is that it
is Linux-only
at this stage. The ffmpeg program is cross-platform,
so there is some hope that the 'ffmpeg' package might be portable
to other platforms, but replacements would need to be sought
for 'wmctrl' and 'xdotool' on Windows, for example.
Another issue with this solution is that, although recording is automated, the desktop is unusable for the duration of the recording; the desktop is being captured so I have to step away from the keyboard and mouse while recording is happening. This problem can be avoided by running the entire recording off-screen, using something like Xvfb. This is the approach taken for the Docker build of this document (see the Resources section).
The audio recording and manipulation component of this work was based on the existing 'tuneR' package. The 'wmctrl' and 'xdotool' packages were created because there did not seem to be any existing package that could help with setting up the desktop and simulating key strokes. The 'RSelenium' package exists for simulating interactions with a web browser, but that is specific to keyboard and mouse activity in a browser window.
Several existing packages provide a limited interface to
ffmpeg, including 'animation' (for running still frames
together to create a video) and 'imager' (for loading images from
a video), but none appeared to provided a generic interface
like the package 'ffmpeg' is attempting to do.
The 'rDVR' package provides the ability to capture a video
of the screen, but is based on the Monte Media Library rather than
ffmpeg and it does not automate the running of R code
or the audio recording of text commentary like the 'director' package.
In the Python world, there is a 'MoviePy' module (which is based on
the Python module 'imageio', which is a front-end for
ffmpeg). 'MoviePy' provides similar
support for scripting videos (see, for example, the
star
worms tutorial). This module is a more low-level and
general-purpose tool than
'director', with no prescribed "script" format, and no specific
focus on running code examples with text commentary. It might
provide an excellent basis for creating a Python equivalent
of 'director'.
There are many ways in which this proof-of-concept could be expanded and improved:
espeak
text-to-speech step. For example, the
MBROLA project
provides
some more natural-sounding voices that should work with
espeak.
ffmpeg.
ffmpeg that could
be added to the interface of the 'ffmpeg' package (e.g., video filters
to manipulate video content).
The examples and discussion in this document relate to 'wmctrl' version 0.1-2, 'xdotool' version 0.1, 'ffmpeg' version 0.1-1, and 'director' version 0.1,
This document was generated within a Docker container (see Resources section below).
http://tripie.sweb.cz/utils/wmctrl/,
URL visited 2016-12-11
http://www.semicomplete.com/projects/xdotool/,
URL visited 2016-12-11
http://espeak.sourceforge.net/index.html,
URL visited 2016-12-11
https://ffmpeg.org/,
URL visited 2016-12-11
http://zulko.github.io/moviepy/,
URL visited 2016-12-11
http://camendesign.com/code/video_for_everybody,
URL visited 2016-12-11
http://diveintohtml5.info/video.html,
URL visited 2016-12-11
This document
is licensed under a Creative
Commons Attribution 4.0 International License.